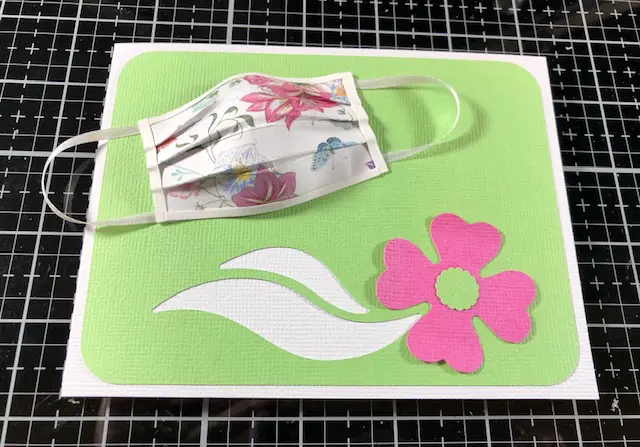
Recently I had so much fun making this adorable mask card for two very special people. Kim and Joanie are leaders of the Mask Makers of Doylestown responsible for coordinating the donation over 17,000 masks to healthcare workers in the area. Kim managed the logistics and Joanie donated her porch for the exchange of supplies and to collect finished masks, button headbands, caps, and ear protectors. Hundreds of people in the community sewed, pre-cut material, cut elastic, and donated supplies. Others tracked requests and were runners dropping off the finished masks to hospitals, nursing homes, long term care facilities, police and fire departments, and EMT’s. It truly was an amazing effort and wonderful to see our community come together!
This card is a great way to thank health care workers. It could also be modified by leaving out the pop-up “thank you” in the center. One idea would be to send to a friend with an “I miss your face” sentiment.
How to Make the Card
The Thank You Pop Up base card is made from a free pattern from Dreaming Tree. Click here to go to the site and search for “Thank You Pop Up card” and download the free pattern. This pattern can be used with both the Cricut Design Space and Silhouette Studio software. Leo from Dreaming Tree has a step by step video on how to put the base Thank You card together here. The adorable paper mask was inspired by Scott from CardCutUps. He has a great video showing the steps here. I’ve also outlined the steps below.
How to make the Paper Mask
Step 1. Cut a piece of patterned paper 2 3/4″ x 2 1/8″
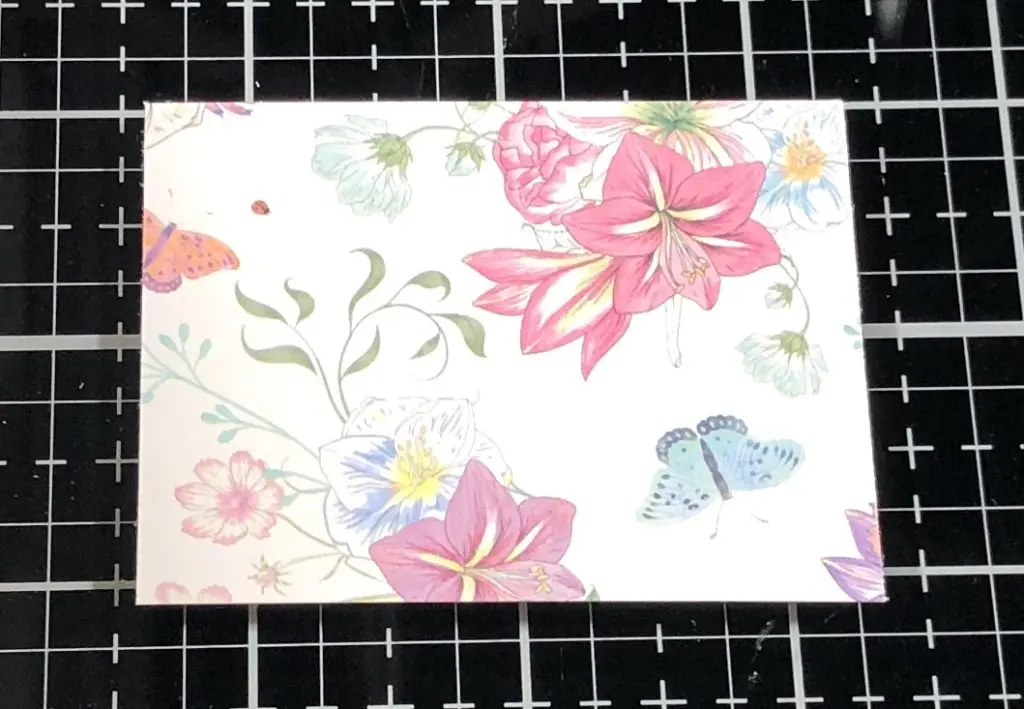
Step 2: Turn paper the long way with top side up and place on your scoreboard. I use the Martha Stewart scoreboard.
Step 3: Score at 1/2″, 1″ and 1 1/2″.
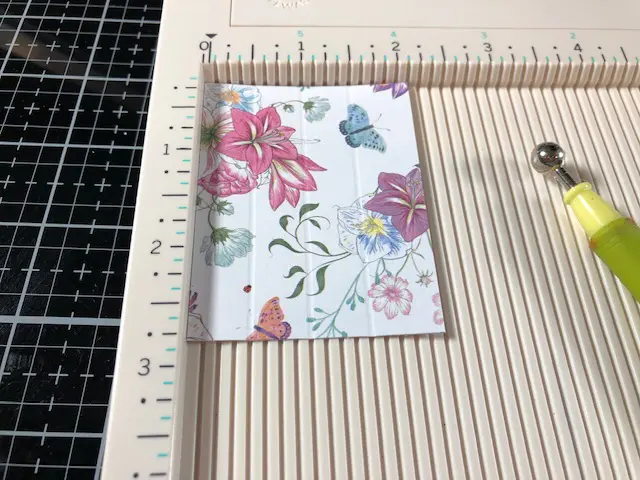
Step 4: Flip the paper over lengthwise in the same direction.
Step 5: Score at 5/8″, 1 1/8″, 1 5/8″. The back should look like this with 1/8″ channels which will make the pleats.
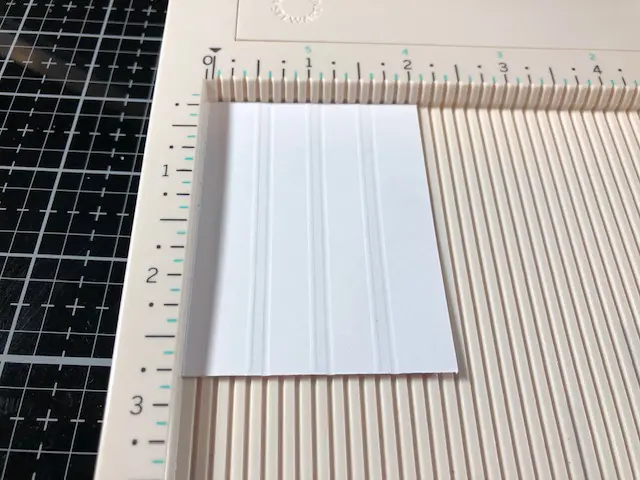
Step 6: Fold the top side score lines down and burnish with a bone folder to make sure the folds are sharp.
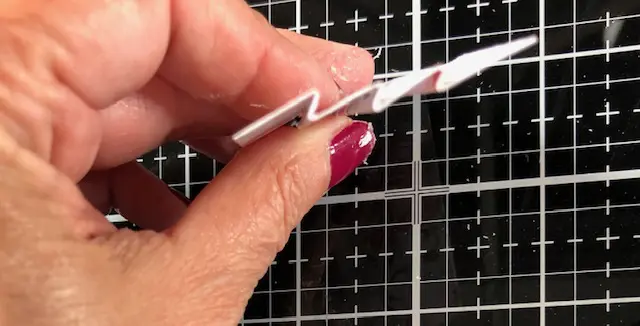
Step 7: Turn over and fold the score lines in the opposite direction to form a zig pattern. The folds make the pleats.
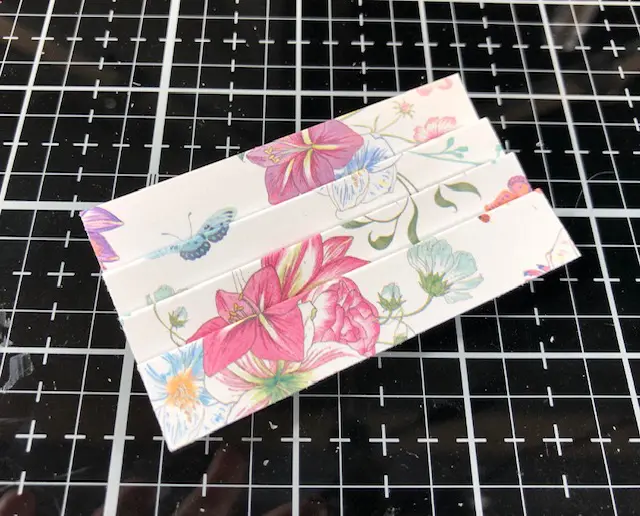
Step 8: Reinforce all of the folds with a bone folder.
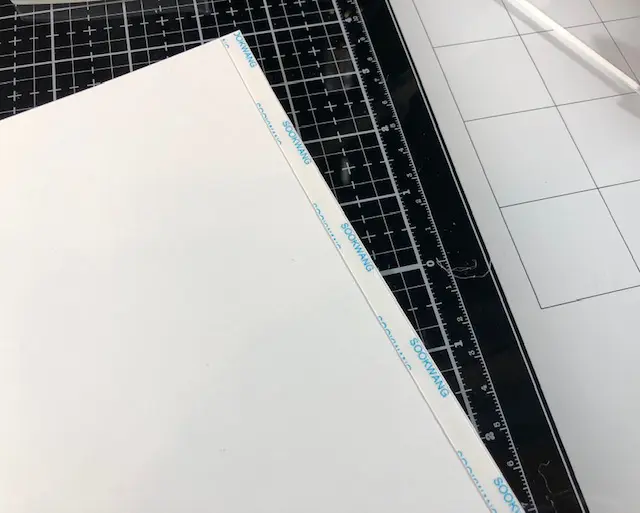
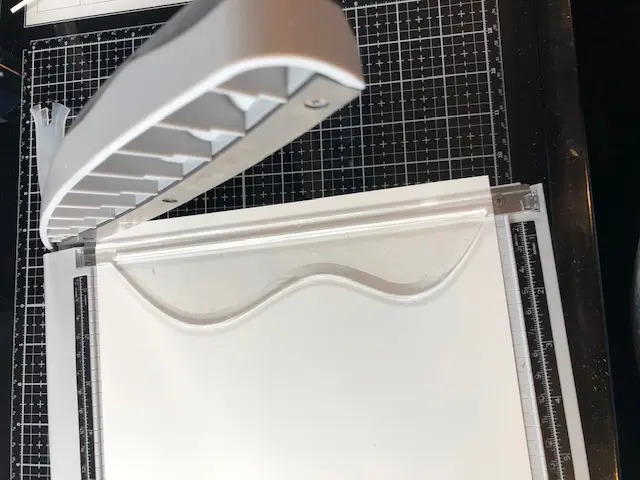
Step 9: The next step is to prepare white cardstock strips that will be used around the edges. The easiest way to do this is with a guillotine cutter like the Tim Holtz cutter from Tonic.
Step 10: Lay down 1/4″ score tape on the edge of white cardstock. Put the paper into the guillotine cutter with the score tape side down. Bump the score tape edge against the blade and cut. You will end up with a perfect strip of white cardstock with score tape on one side.
Step 11: Repeat with 1/8″ inch score tape
Step 12: Score tape pleats down on the short ends on the back with the 1/4″ score tape strip.
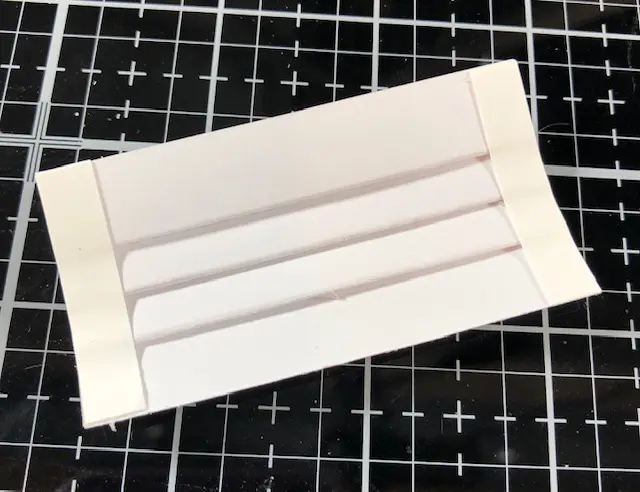
Step 13: Burnish down with bone folder.
Step 14: Score tape pleats down on the front with the 1/8″ score tape strip.
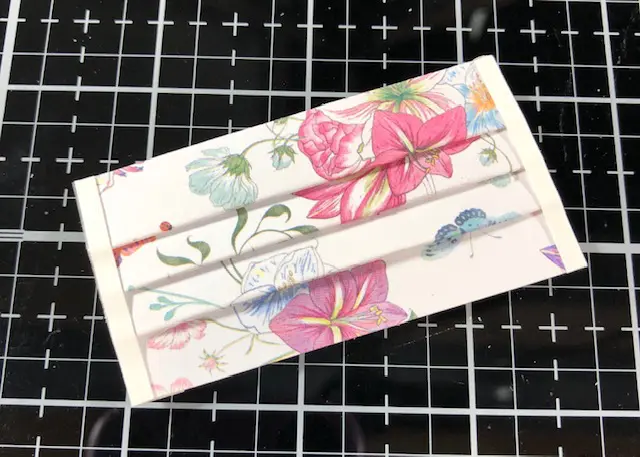
Step 15: Burnish down with a bone folder.
Step 16: Glue 1/16″ inch white card stock on top and bottom edge. I recommend using Art Glitter glue.
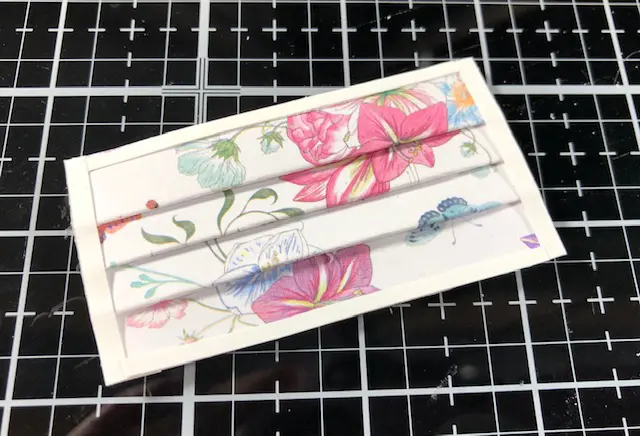
Step 17: Cut two 3″ pieces of 1/8″ satin ribbon for the elastic. Adhere with tiny glue dots in each corner.
Step 18: Carefully open the mask from the center.
Step 19: To keep the mask open, cut a 2″ long piece of 1/4 score tape. Position in the center of the mask starting at the top. As you go down open up the pleats sticking the score take in place.
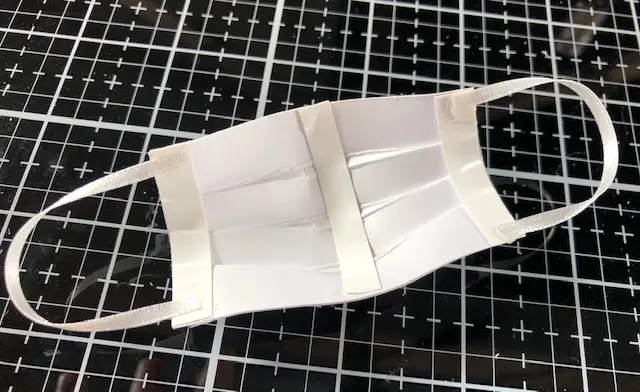
Step 20: Your mask is finished! Adhere it to the card with glue dots in the corner. Note that if you plan to mail this mask envelope you will need to put in a box. Another option is to not open the mask and to leave it flat which is cute too!
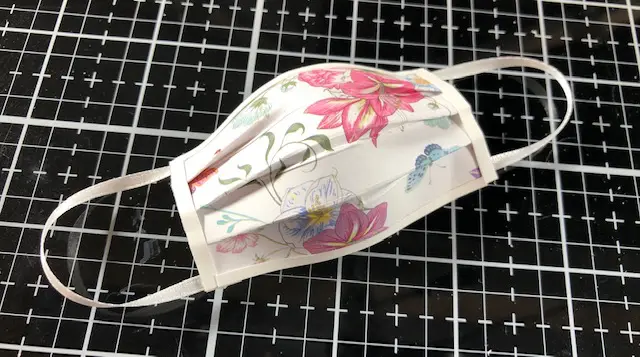
Enjoy!

