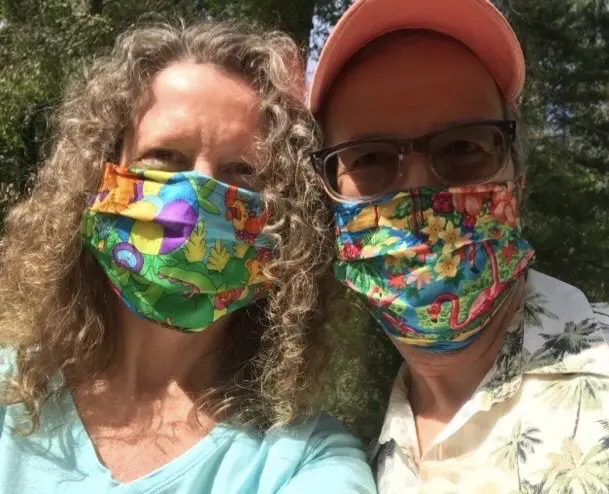
When I heard that was a need for masks for our healthcare workers I wanted to make some so I started searching for a pattern. I came across this one which I have found to be one of the easiest ones to make and one that is preferred by hospitals because they are flexible enough to fit over the N95 masks and also include a pocket for an additional filter. This is adapted from the pattern shared by Leah Day here. Her instructions are very clear so you may want to take a look at her video and download the PDF. I have made a few modifications and also added some tips that I found as I’ve made several of these now. Have fun while doing good for your community!
Step 1: Cut fabric to 9″ x 15″. You can get two masks out of one fat quarter if you cut in the right direction so make sure you measure first.
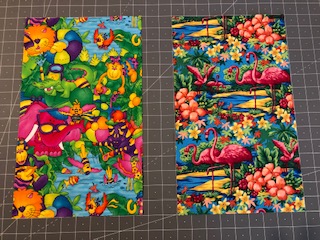
Step 2: Fold in half and press.
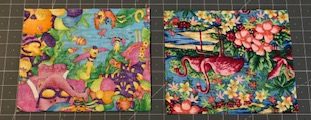
Step 3: Cut out a 6″ x 7″ piece of 100% cotton pillow casing and press a 1/4″ seem around the edges. This will be used to distinguish the front from the back.
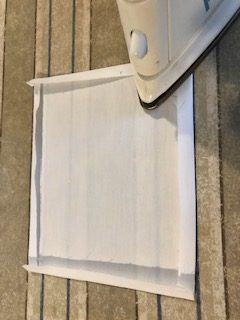
Step 4: Center the pillow casing folds down horizontally and place 1″ up from the folded bottom edge on the right side. Sew a narrow 1/8″ seam all around the edge. This will keep the material from fraying.
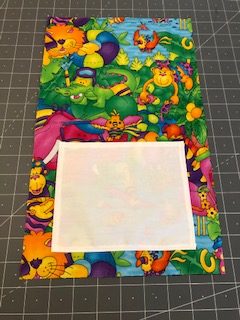
Step 5: Make a mark at 3″ and 6″ at the top (open side). Be sure you mark on the side with the pillow case as the pocket should end up on the back.
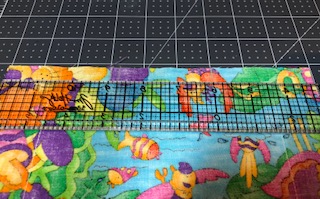
Step 6: (Optional) At this point you can change your thread color if you want to match more closely to your fabric.
Stitch a 1/2″ seam on the top starting from the left to the 3″ mark. Cut the thread and skip the gap. Start from the 6″ mark and stitch to the end. The gap you have created is the opening to the pocket. Be sure to backstitch to secure all of the ends.
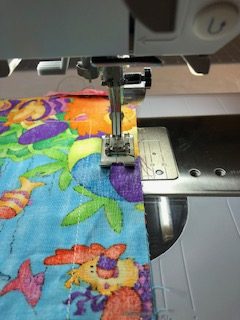
Step 7: Finger press open on the side with the pillowcase

Step 8: Create a new fold lined up to the 1/2″ seam.

Step 9: Cut 2 1/4″ pieces of elastic to a length of 7″.
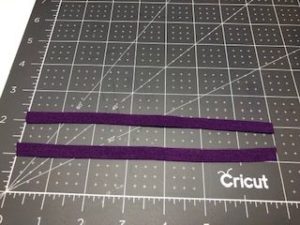
Step 10: Lay the elastic in the folds on both ends and clip.
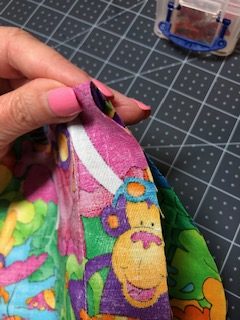
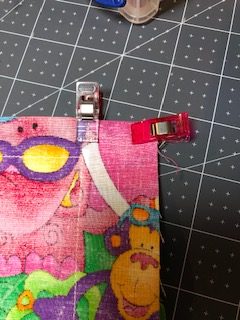
Step 11: Sew along the edges with a 1/2″ seam. Be sure to back stitch at the beginning and end to ensure the elastic is sewed in securely. It is normal for the fabric to bunch due to the elastic. You can use your fingers to hold it straight and in place while you sew.
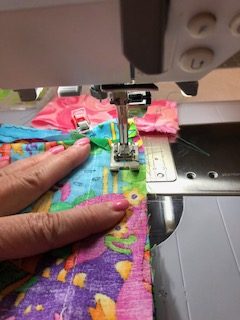
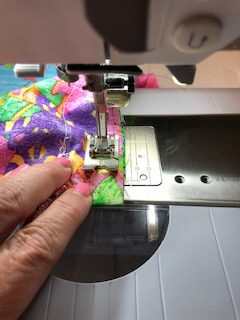
Step 12: Clip the corners.
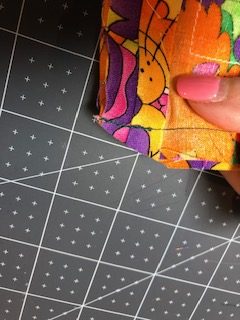
Step 13: Turn the fabric inside out.
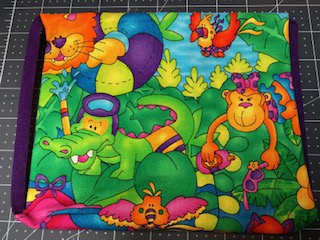
Step 14: On the back starting from the top, make a mark 1″ down and then 1″ apart for a total of 6 marks on both sides.
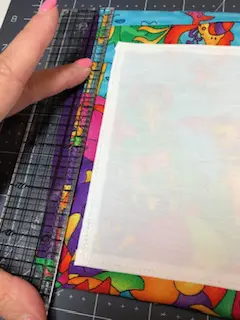
Step 15: Starting from the bottom, create pleats by folding one mark to the next and clip each fold.
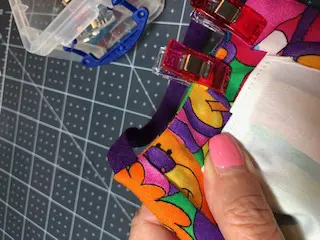
Step 16: Cut a piece of pipe cleaner 6″ and make a loop on the end with a round nosed pliers.
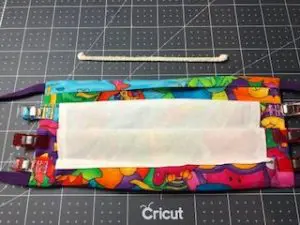
Step 17: Slide the pipe cleaner into the channel and clip to hold it in place.
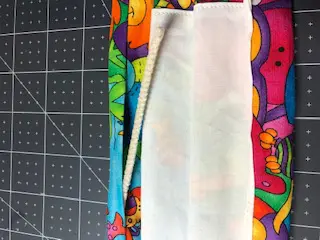
Step 18: To make it easier to sew I like to press the whole piece first.
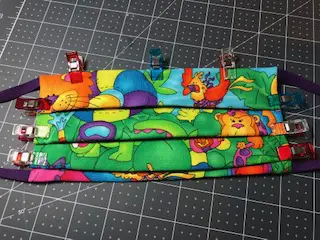
Step 19: Sew all the way around on the back side starting on the lower left with a 1/4″ seam. In this view I’m sewing on the front side, but I have actually since found that it is easier to sew on the back side to ensure that you don’t sew the pocket shut by accident. When sewing on the top make sure that you are careful not to sew over the pipe cleaner which could break your needle. It also helps to use your finger to push the pipe cleaner to the edge.
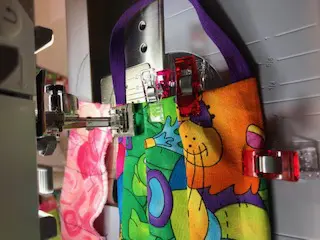
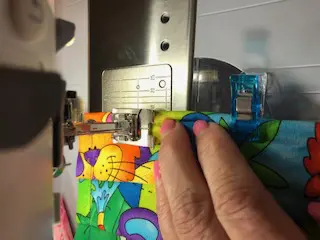
Step 20: To add some additional decoration and reinforcement, stitch a line on the edges at 1/8″ between the edge and the line that you had previously stitched.
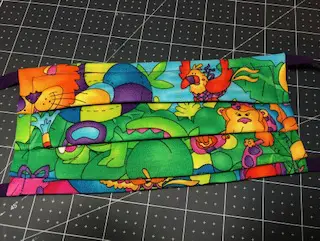
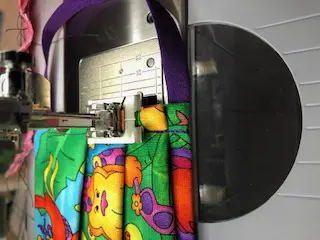
Step 21: Your mask is now complete!

