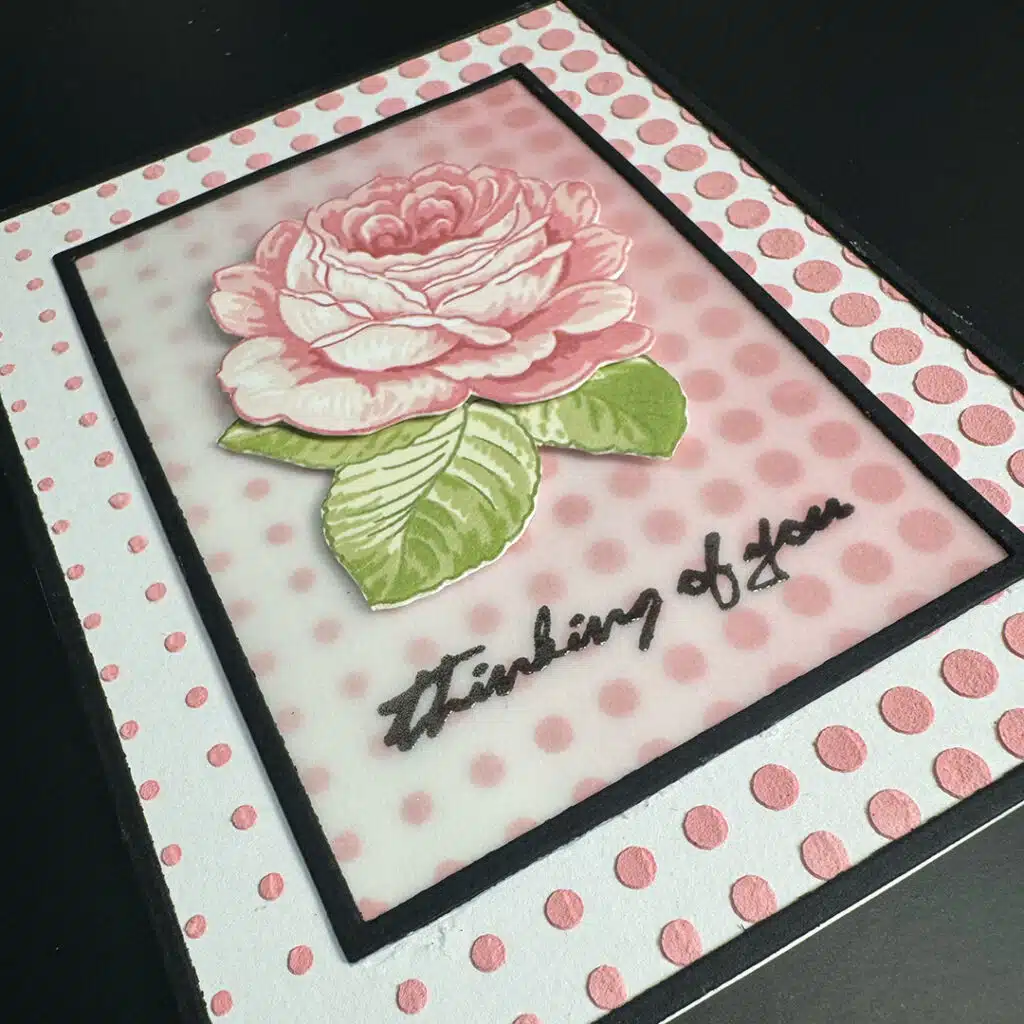
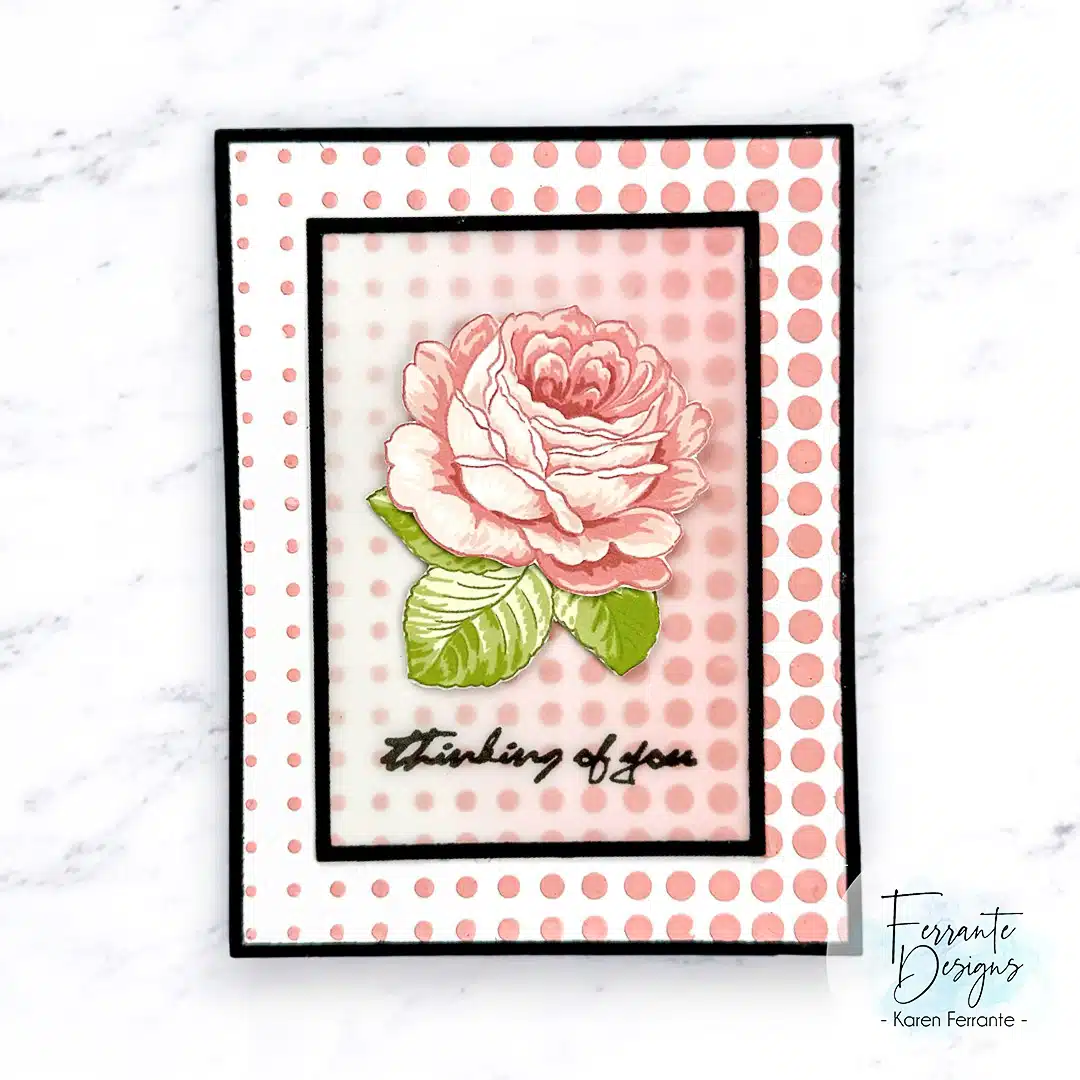
This is my submission for the Level 1 Celebration: Stenciling Techniques class taught by Laurel Beard. She is amazing and I really enjoyed this class! With Simon Says Stamp Stamptember right around the corner, I thought it would be fun to use the beautiful Altenew 2021 Stamptember collaboration set called From the Rose Bush.
Techniques and Design Principles
- Using embossing paste to add texture and interest
- I chose a monochromatic palette and bold black frames for a modern graphic vibe.
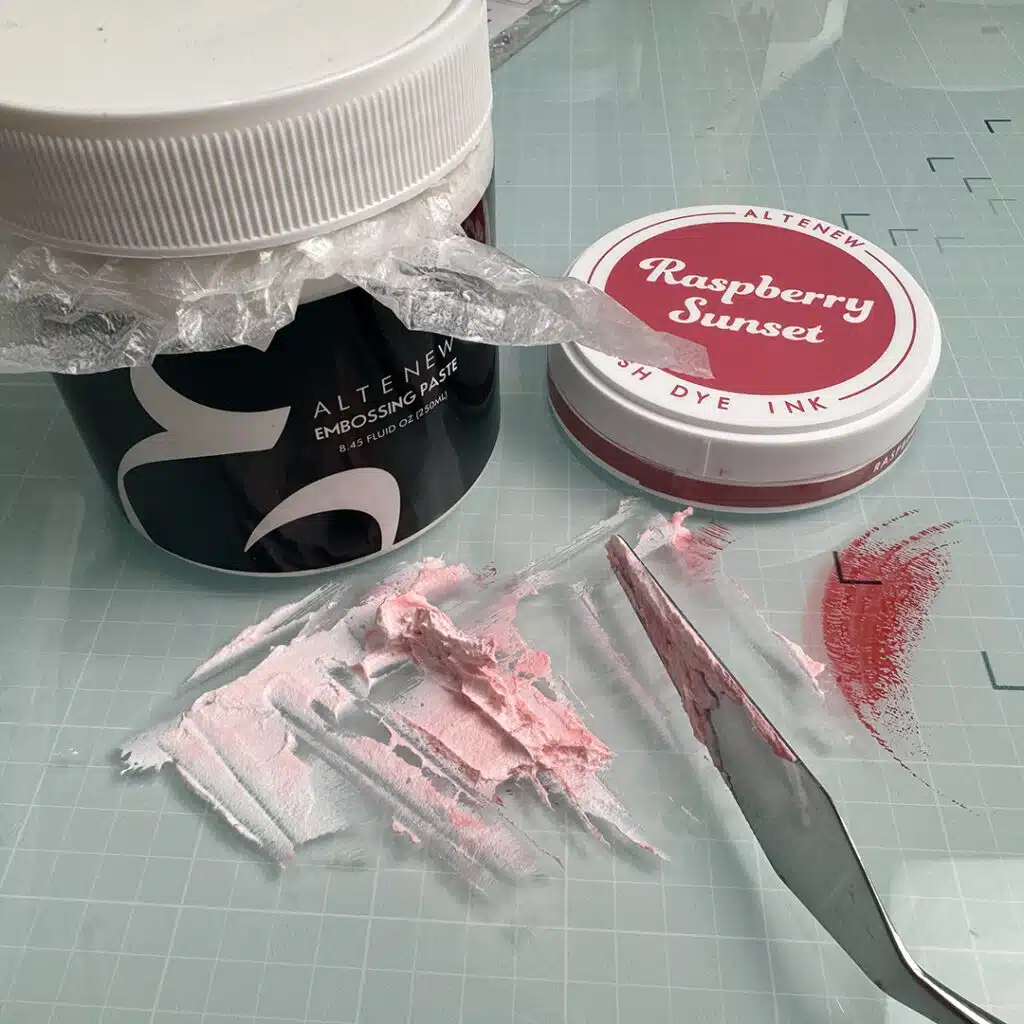
- Coloring the white paste with ink to make a custom color for this card in line with the monochromatic palette.
- The Altenew sticky mat was excellent for holding the panel while applying paste over the stencil. I found that I didn’t even have to use any additional tape to hold it in place.
- I used 120 lb heavy cardstock to apply the paste on the panel so that it would hold up to the moisture and not warp.
- When heat embossing the sentiment on the vellum, I worked from the backside and moved quickly to keep the vellum from warping and overheating the embossing powder.
- I used vellum to soften the image background around the focal point.
- Popped up the rose image for added dimension
Steps
1. First I created the panel by mixing Raspberry Sunset ink with the paste and applied over the stencil. This would give it time to dry while I created the other elements for the card.
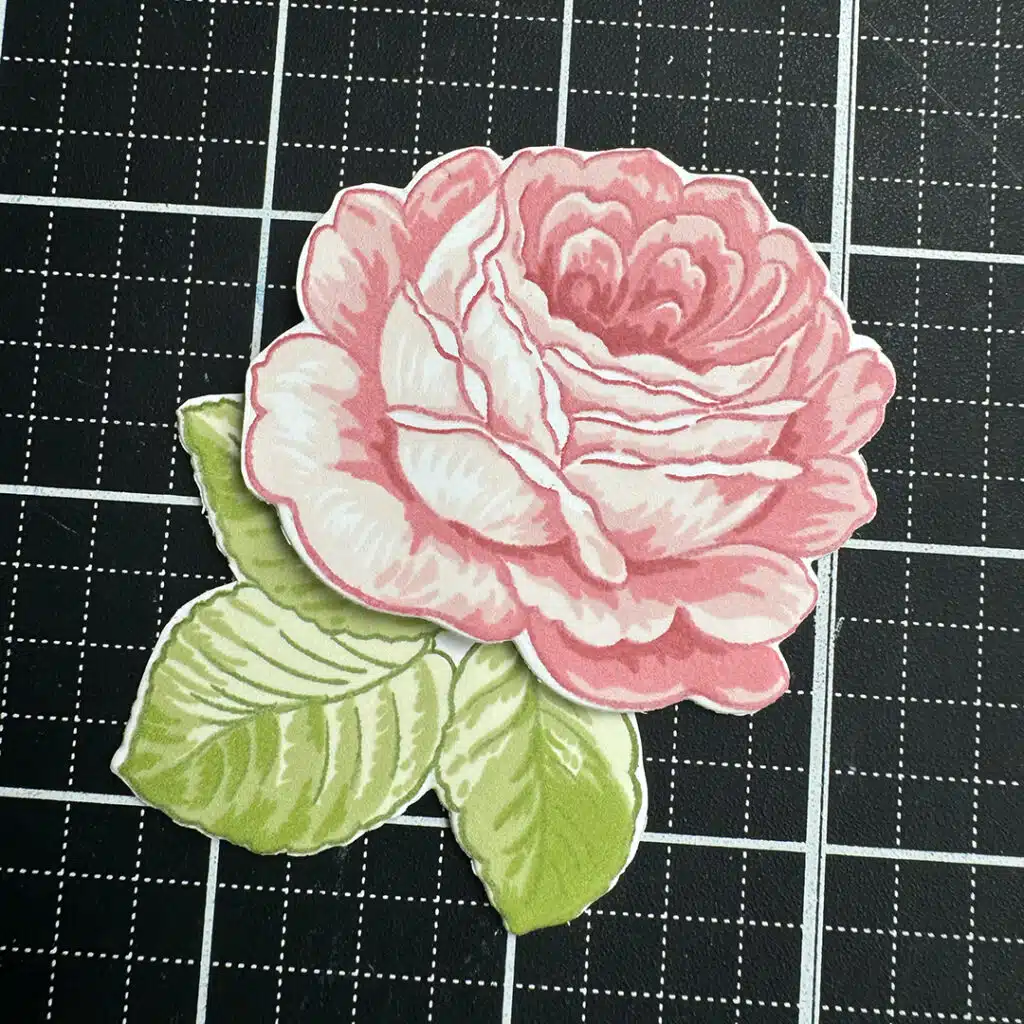
2. I then stamped the rose and leaf images and used the stencils to add the color. I used Altenew Strawberry, Dusty Pink, Blus Rose, Raspberry Sunset, Misty Sage, Mossy Meadow and Green Opal inks.
3. Next I cut out the black frames using the Fine Frames die set.
4. I cut out a piece of vellum that would fit behind the smaller frame.
5. Using the Mini Blending tool, I ink blended the back of the vellum piece keeping one side darker to add additional interest.
6. Next I heat embossed the sentiment using Altenew Obsidian Ink and clear embossing powder. I made sure the darker inked side was on the back and on the right.
7. I cut down the panel with the paste to 5 1/2″ x 4 1/4″ and adhered the larger black frame using liquid adhesive.
8. Then I used liquid adhesive to adhere the vellum to the smaller black frame.
9. I fussy cut the rose and leaf as I didn’t want to have the white border showing.
10. I used thin foam squares on the leaves to adhere to the panel and thicker squares to adhere the rose.
11. Finally, I used liquid adhesive to adhere the panel to the 4 1/4″ x 5 1/2″ top folding card base.
Supplies
- Altenew Stamptember 2021 stamp set – From the Rose Bush
- Altenew Halftone Stencil
- Altenew Fine Frames Cover Die
- Altenew Thinking of You Sentiment set
- Altenew Embossing Paste and Palette tool
- Altenew Fresh Ink – Strawberry, Dusty Pink, Blus Rose, Raspberry Sunset, Misty Sage, Mossy Meadow and Green Opal
- Altenew Obsidian Pigment ink
- Black cardstock
- Heavy Vellum
- Watercolor or Heavy Cardstock – I used 120 lb Opaque accent


This class was a lot of fun. I was reminded how fun it is to use paste for added texture. 🙂 I also learned several new techniques for using stencil techniques that I had never tried before.
2 comments
Karen, this looks So good! The vellum adds such softness to your card; well done!
Thank you so much Erum ! I really enjoyed making this card. It reminded me how much fun it is to add paste to a card. The texture and interest that it adds is amazing! 🙂
Comments are closed.